How to start learning IOT in 2025?
Complete Guide for IOT in 2025
The Internet of Things (IoT) has grown with a pace in this few years. Don't it feels like magic operating different types of hardware devices with just one click or making something interesting just by using different hardware and software. IOT is all about that let's dive into it more .
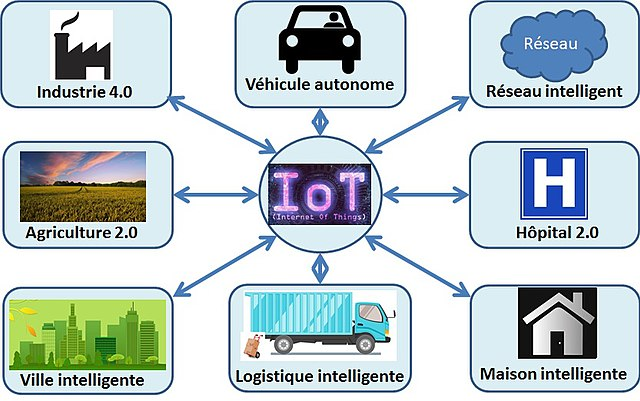
So, What is IOT?
The internet of things is just a integration of different software and hardware or sensors to create some automation type of thing. let me make this more clear like we can turn off the light of our home just with one click or automatic using the IOT. Let's learn more about it.
Why you should learn about IOT?
- Knowledge: Gain knowledge about how hardware and software coordinate .
- Creativity: We can create our ideas into real using it.
- Career prospects: Learning it can give u many opportunities .
What do you need to start learning about IOT?
To create a basic IoT device, you’ll need:
- Microcontroller or Microprocessor:
- Examples: Arduino, Raspberry Pi(this is advance than aurdino), nodemcu(ES266) also called wifi module .
- Sensors:
- Temperature, humidity, motion, IR sensor, Ultrasonic senosor.
- Actuators:
- Devices like motors, LEDs, or buzzers to perform actions.
- Power Source:
- Batteries , powerbank or a power adapter.
- Connectivity Module:
- Wi-Fi(nodemcu), Bluetooth module for communication.
- Software:
- Arduino IDE(this can handle different microcontrollers ) or Python for coding the logic.
- Breadboard and Jumpers:
- For wiring without soldering or we can solder after our circuit is fixed or start working.
Step-by-Step Guide to Build our IoT Device
Step 1: What is our purpose
What do you want to create make it fix what is your purpose of making your iot device
Step 2: Gather Materials
Based on your goal, collect the necessary components. For example if you want to make a temperature monitoring system then you will need:
- Microcontroller (ESP32 for Wi-Fi connectivity).
- Temperature sensor (DHT11 or DHT22).
- Breadboard and jumper wires.
- Other softwares and little knowledge of code
Step 3: Assemble the Hardware
- Connect the temperature sensor to the microcontroller using jumpers and breadboard.
- Connnect the vcc gnd and data pin correctly
- Ensure the proper connectivity .
Step 4: Write the Code
- Install the Arduino IDE on your from the official website .
- Write a simple program you can use below code for reference.
Example Code for ESP32 with DHT11:
#include <WiFi.h>
#include <DHT.h>
#define DHTPIN 4
#define DHTTYPE DHT11

DHT dht(DHTPIN, DHTTYPE);

void setup() {
  Serial.begin(115200);
  dht.begin();
  Serial.println("Starting temperature monitoring...");
}

void loop() {
  float temp = dht.readTemperature();
  if (!isnan(temp)) {
    Serial.println("Temperature is : " + String(temp) + " °C");
  } else {
    Serial.println("Failed to read the data form the sensor");
  }
  delay(2000);
}
Step 5: Testing
- Upload the code to the microcontroller using the aurdino ide.
- Open the serial monitor of the aurdino ide which is in top right .
- Debug any issues by checking connections or code errors if any do chat gpt lol.
Extra Tips
- Start small: Focus on one sensor or one at first and go on integrating.
- Learn debugging: Debugging is the basic requirement to make your project success learn to debug the software and hardware issues
- Join communities: Platforms like GitHub ,Facebook and other platforms can help you build you a project or you can use Youtube tooo.
What’s Next?
Once you have learned the basics you can start the creating following projects to learn more:
- Smart home automation.
- Security systems with face recognition.
- IoT-based agriculture systems.
Thank you for reading my blog see you soon in next blog!!!

